
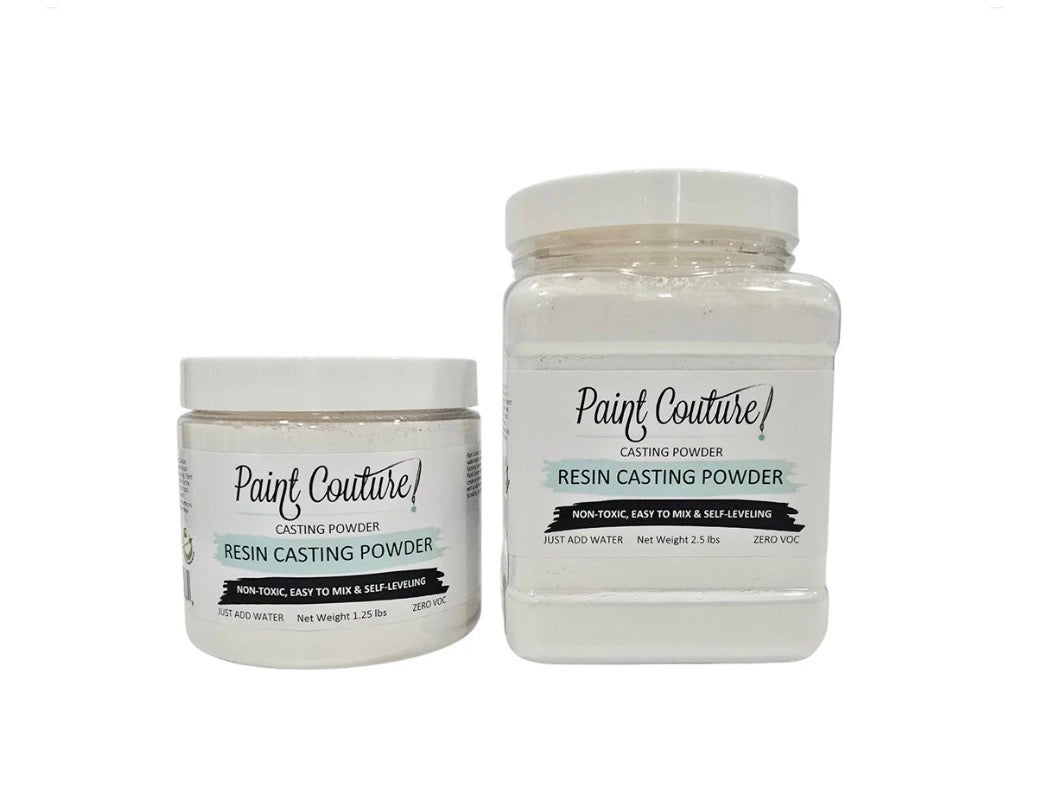

Description
PAINT COUTURE RESIN CASTING POWDER
Create Beautiful, Durable Castings with Ease
Paint Couture Resin Casting Powder is a premium mineral-based casting compound designed to create highly detailed decorative castings with a smooth, professional finish. Perfect for use with silicone molds, this fast-setting formula captures intricate details while producing a strong, lightweight casting that is easy to paint, stain, wax, glaze, or embellish.
Ideal for furniture makeovers, home décor, mixed media, resin art accents, and DIY crafts.
FEATURES
• Fast-setting formula
• Excellent detail reproduction
• Smooth matte finish
• Strong yet lightweight
• Minimal shrinkage
• Easy to sand, drill, carve, or distress
• Paintable immediately after drying
• For indoor decorative use
WHAT YOU’LL NEED
• Paint Couture Resin Casting Powder
• Clean mixing container
• Measuring cups or digital scale
• Stir stick or silicone spatula
• Clean room-temperature water
• Silicone molds
• Fine mist spray bottle (optional)
• Sandpaper (220–400 grit) for finishing
MIXING INSTRUCTIONS
Mixing Ratio (By Weight)
100 Parts Resin Casting Powder : 30–35 Parts Water
Example:
• 100 g powder
• 30–35 g water
Mixing Ratio (By Volume)
Approximately:
3 Parts Powder : 1 Part Water
Note: Measuring by weight provides the most consistent results.
Mixing Steps
- Measure clean water into your mixing container.
- Slowly add the Resin Casting Powder to the water.
- Allow the powder to absorb the water for approximately 30 seconds.
- Stir thoroughly for 1–2 minutes until smooth and lump-free.
- The mixture should have the consistency of heavy cream or pancake batter.
Avoid whipping excess air into the mixture.
POURING INTO MOLDS
- Place silicone mold on a flat surface.
- Slowly pour the mixture into the mold.
- Lightly tap the mold several times to release trapped air bubbles.
- For highly detailed molds, gently brush a small amount of mixture into fine details before filling completely.
- Slightly overfill the mold if desired, then level with a scraper.
WORKING TIME
Approximately:
8–12 minutes
Working time varies depending on:
• Room temperature
• Water temperature
• Humidity
• Batch size
Mix only the amount you can use during this time.
DEMOLDING
Most castings may be removed from the mold after:
2–3 hours
Larger or thicker castings may require additional curing time.
Always allow the casting to become firm before removing it from the mold.
FULL CURE
Allow castings to dry completely before finishing.
Recommended full cure time:
24 hours
Humidity and thickness may increase drying time.
FINISHING
Once fully cured, castings may be:
• Painted
• Waxed
• Glazed
• Antiqued
• Dry brushed
• Sanded
• Distressed
• Drilled
• Glued to furniture or décor
For best adhesion to furniture, use a quality construction adhesive or wood glue.
TIPS FOR BEST RESULTS
• Always use clean tools and containers.
• Use cool, clean water.
• Mix thoroughly but gently.
• Avoid adding extra water after mixing begins.
• Clean tools immediately after use.
• Store unused powder tightly sealed in a cool, dry location.
TROUBLESHOOTING
Mixture Sets Too Quickly
• Mix smaller batches.
• Use cooler water.
• Avoid mixing in hot environments.
Air Bubbles
• Tap mold after pouring.
• Brush mixture into detailed areas before filling.
• Stir gently to avoid introducing air.
Weak or Chalky Castings
• Too much water may have been added.
• Allow full cure before handling.
• Measure accurately for best results.
Difficult to Remove From Mold
• Allow additional curing time.
• Flex the silicone mold gently instead of pulling on the casting.
STORAGE
Keep container tightly sealed. Store in a cool, dry location away from moisture and humidity. Do not expose powder to water until ready to use.
Shelf life: Approximately 12 months when stored properly.
SAFETY INFORMATION
• For decorative use only.
• Avoid breathing dust.
• Wear a dust mask when handling dry powder if dust is generated.
• Avoid contact with eyes.
• Keep out of reach of children.
• Wash hands after use.
• Do not ingest.
CLEANUP
Clean tools immediately with warm water before material hardens. Once cured, material must be mechanically removed.